Thursday, 3 April 2014

Spring Ikat Chevron

My ikat chevron nails (see here) have surpassed 400 repins on Pinterest!! So in celebration, I have recreated the design just in time for Spring. 
For this design I used "Blanc" by Essie, "Appletini" by Covergirl, and "Stand by Your Manny" by Nicole by OPI.  Remember, the key to this design is the slooowly applied top coat which results in the perfect smeared look.
 Ikat chevron is definitely one of my favourite looks.  I'll be experimenting with more ikat looks in the not to distant future!

Happy Painting!

Love, Kate xo

Saturday, 22 March 2014

Nude Animal Print

I've become a really big fan of using Sharpies to draw designs on my nails.  It is such a quick and easy way to add some pizazz to your nails.  Just remember to spray a thin layer of aerosol hairspray over your nails (from a distance) before adding your top coat to prevent smudging.  You still need to make sure you apply your top coat quickly.  
For this design, I used the base colour from "Celestial Shine" by Revlon Sun Candy and a black Sharpie.  It's important to make sure your nails are completely dry before drawing with the Sharpie otherwise the marker won't apply smoothly.
Originally, I was going to apply the sparkly top coat over the leopard design, but I liked the way it looked without it.
I'm really happy with how these turned out.  The colours are subtle but the design is fierce!

Happy Painting!

Love, Kate xo

Saturday, 8 March 2014

Crazy for Polka Dots

Ok Winter, I'm done with you!  Spring, you can make your appearance anytime! I really needed a pop of colour on my nails to brighten my mood.  For this design, I used "Licorice" by Essie, "Hit the Lights" by Nicole by OPI, "Orange Oasis" by Covergirl, "Cherry, Cherry, Bang, Bang" by Sally Hansen, "Shrimply Devine" by Sally Hansen, "One Time Lime" by Nicole by OPI, and "Blue Me Away!" by Sally Hansen.  I used dotting tools of various sizes for my dots.  Here is the final product!
 
Originally I had another idea in mind for the other 3 nails, but I didn't like the way it looked.  I'm happy I decided to paint those nails black because it really makes the colours pop.  

Happy Painting!

Love, Kate xo

Friday, 14 February 2014

Valentine's Day

Happy Valentine's Day Everyone! 

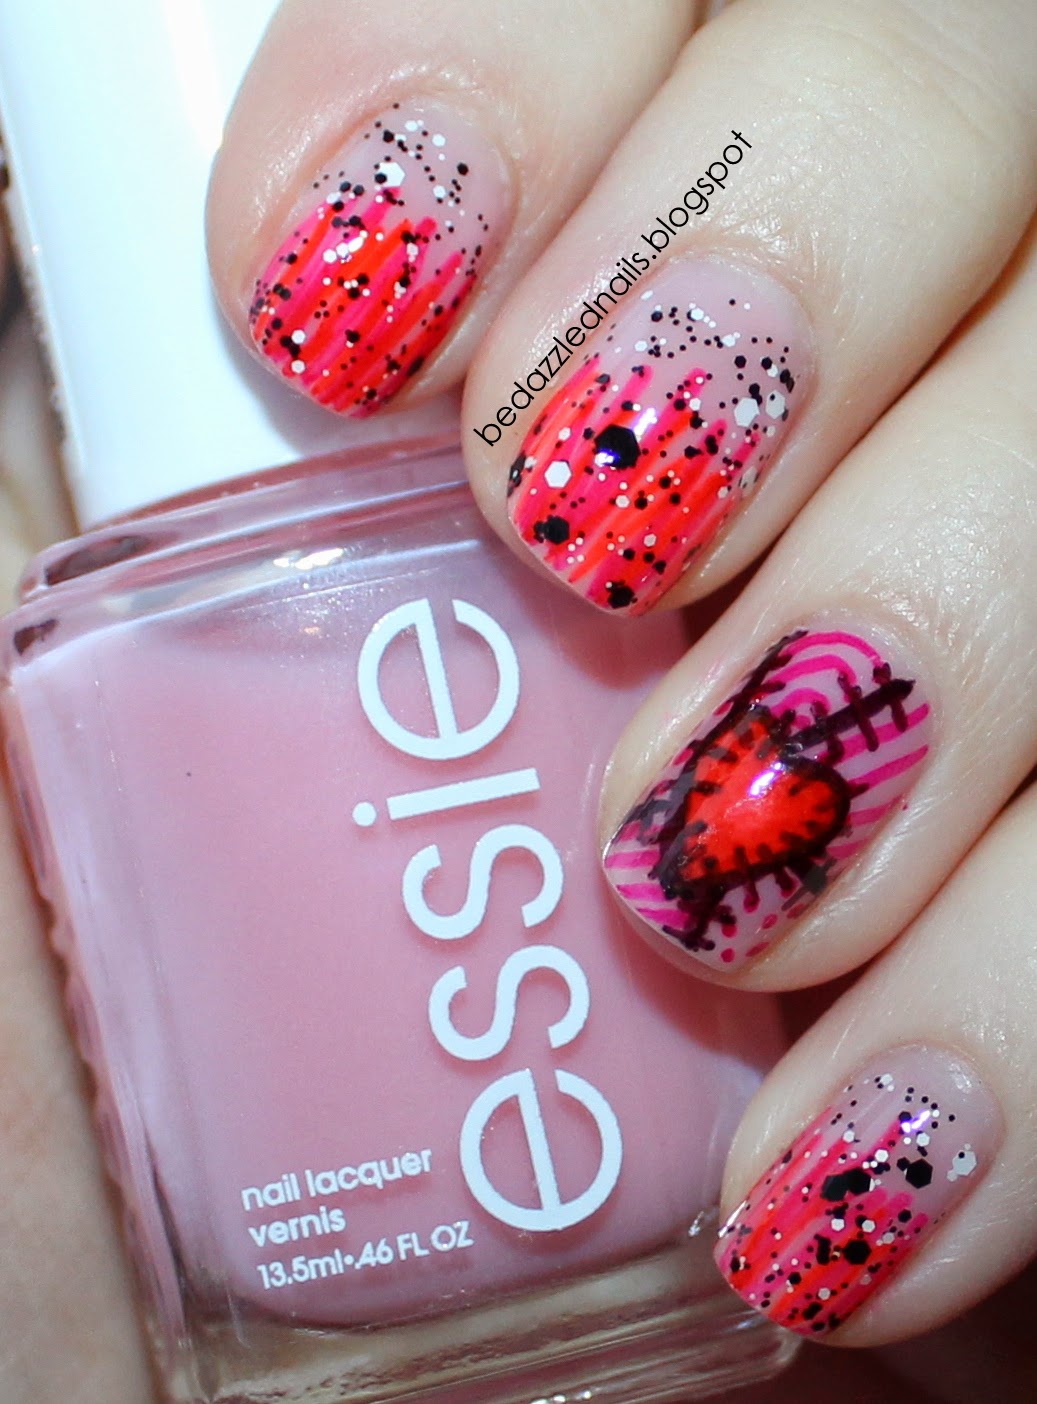
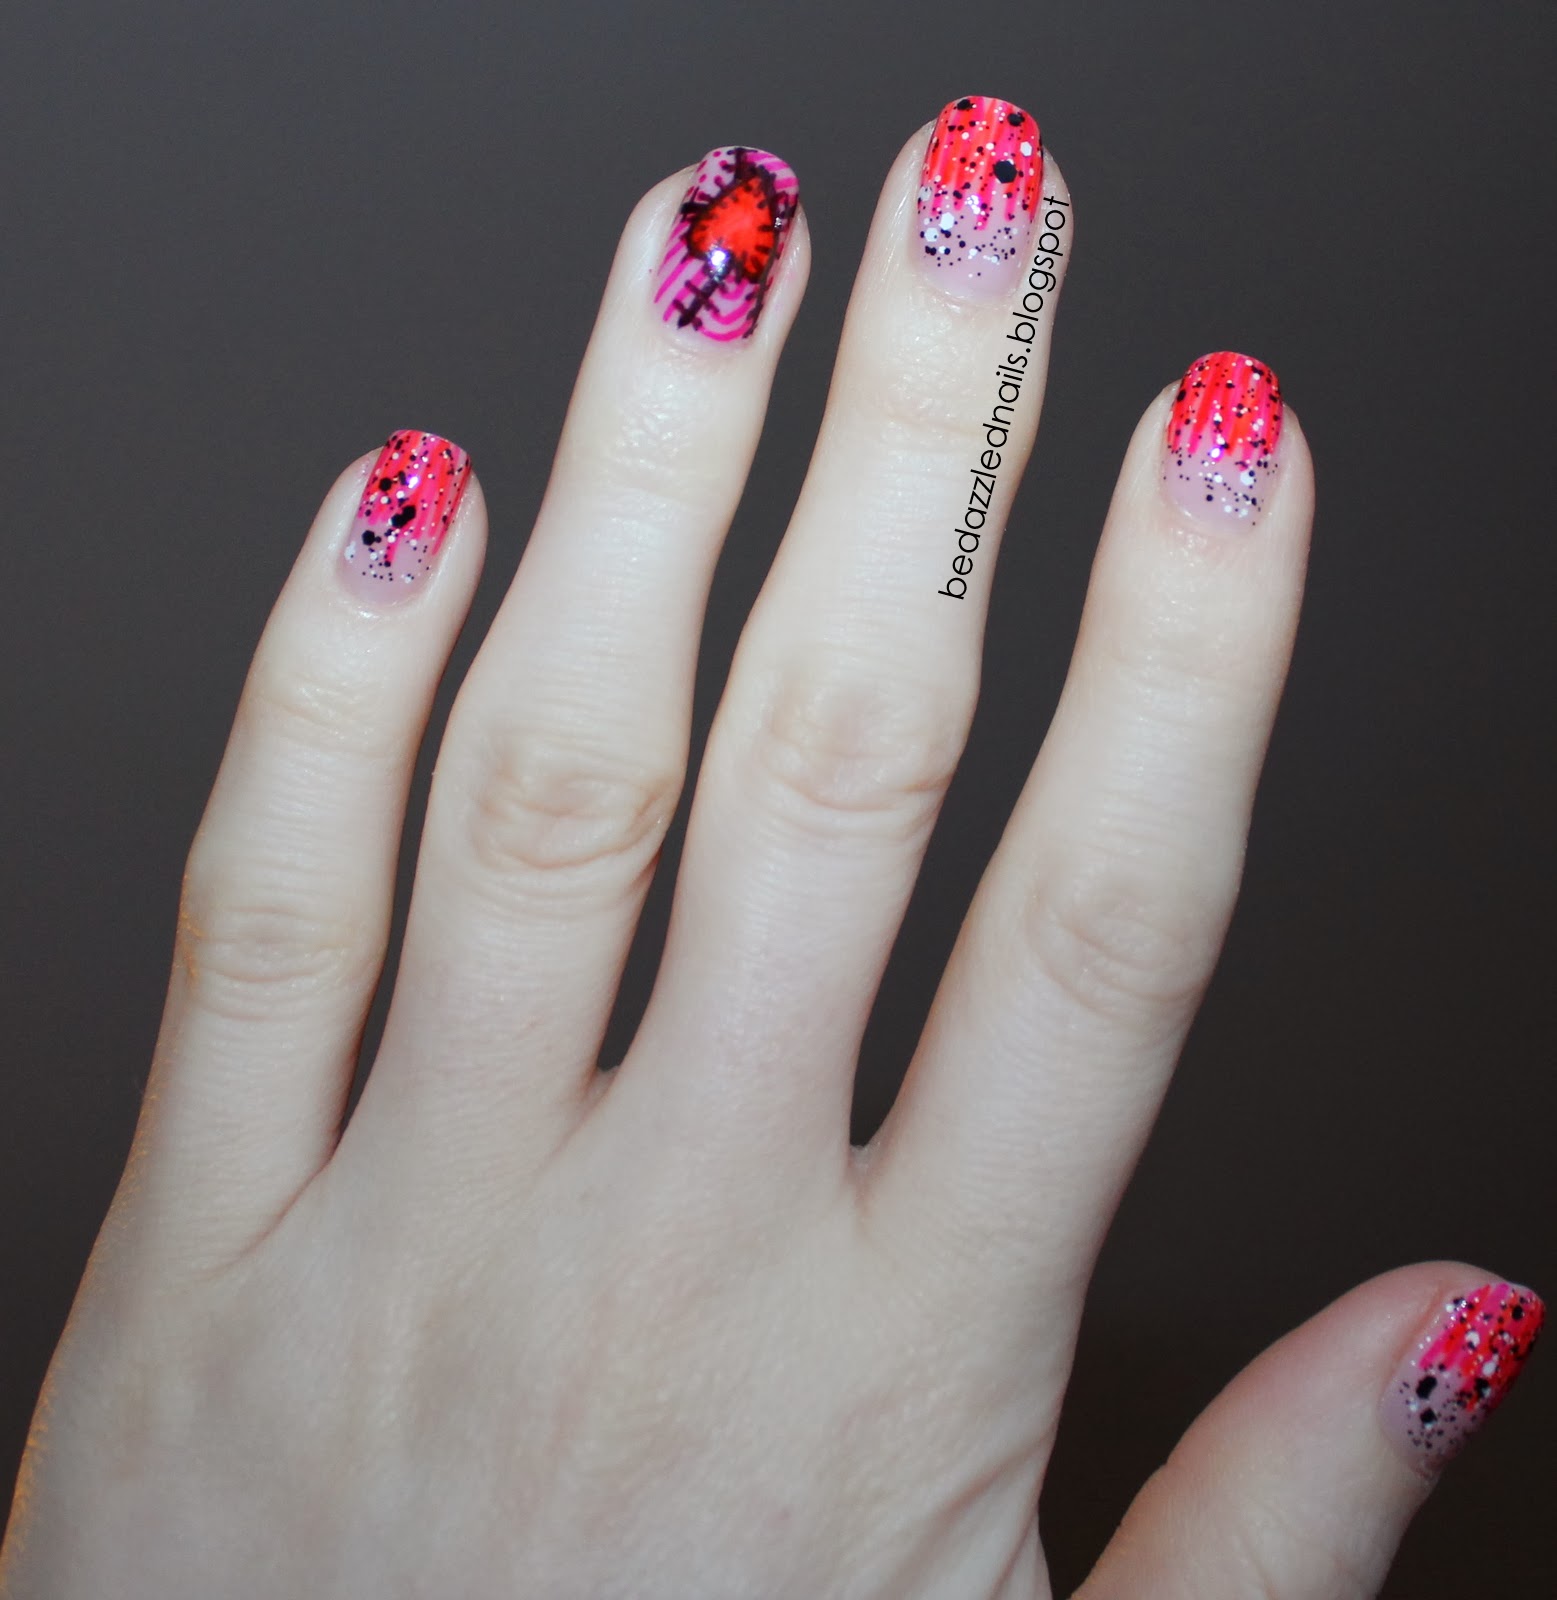
Just a quick post today with my Valentine's nails.  I wanted to do a design that was relatively quick so I chose to do a Sharpie mani for this day of love.  I started with a base of "Sugar Daddy" by Essie.  This is a fantastic everyday colour because it's a soft pink which gives your nails a healthy, pink glow.  I then used pink and red Sharpies to create a waterfall design on all my nails except my ring finger.  I then used "Polka Dots" by Maybelline (Colour Show) as a top coats.  On my ring finger I created a quick heart patchwork design.  Here is the final product!
 I'm really happy with how they turned out! I hope you LOVE them as much as I do.

Happy Painting!

Love, Kate xo

Wednesday, 5 February 2014

Nail Design Mash-Up

This week I decided to take two designs that I admire and mash them together to create my own.  I absolutely love the waterfall designs that Sammy does at TheNailasaurus.com (really, I love everything that Sammy does and you should totally check her out!).  This waterfall design is the basis for my design this week.  The second part of the mash-up is my colour inspiration for my design.  Robin Moses created a neon splatter design with a black base and bright colours over top.  You can find tons of great tutorials on her Youtube page.  
For this design, I started with a base of "Licorice" by Essie.  
I then used acrylic paint in a variety of colours to create my waterfall design.  I had to do some mixing in order to get the colours just right.  To get some of the colours to show up well over the black, I had to add a touch of white.  Here is my "palette".
I used a thin nail art brush to paint of my design.  Here is the final product!
The green and blue combo is definitely my favourite!

Happy Painting!

Love, Kate xo

Monday, 13 January 2014

Blurred Lines

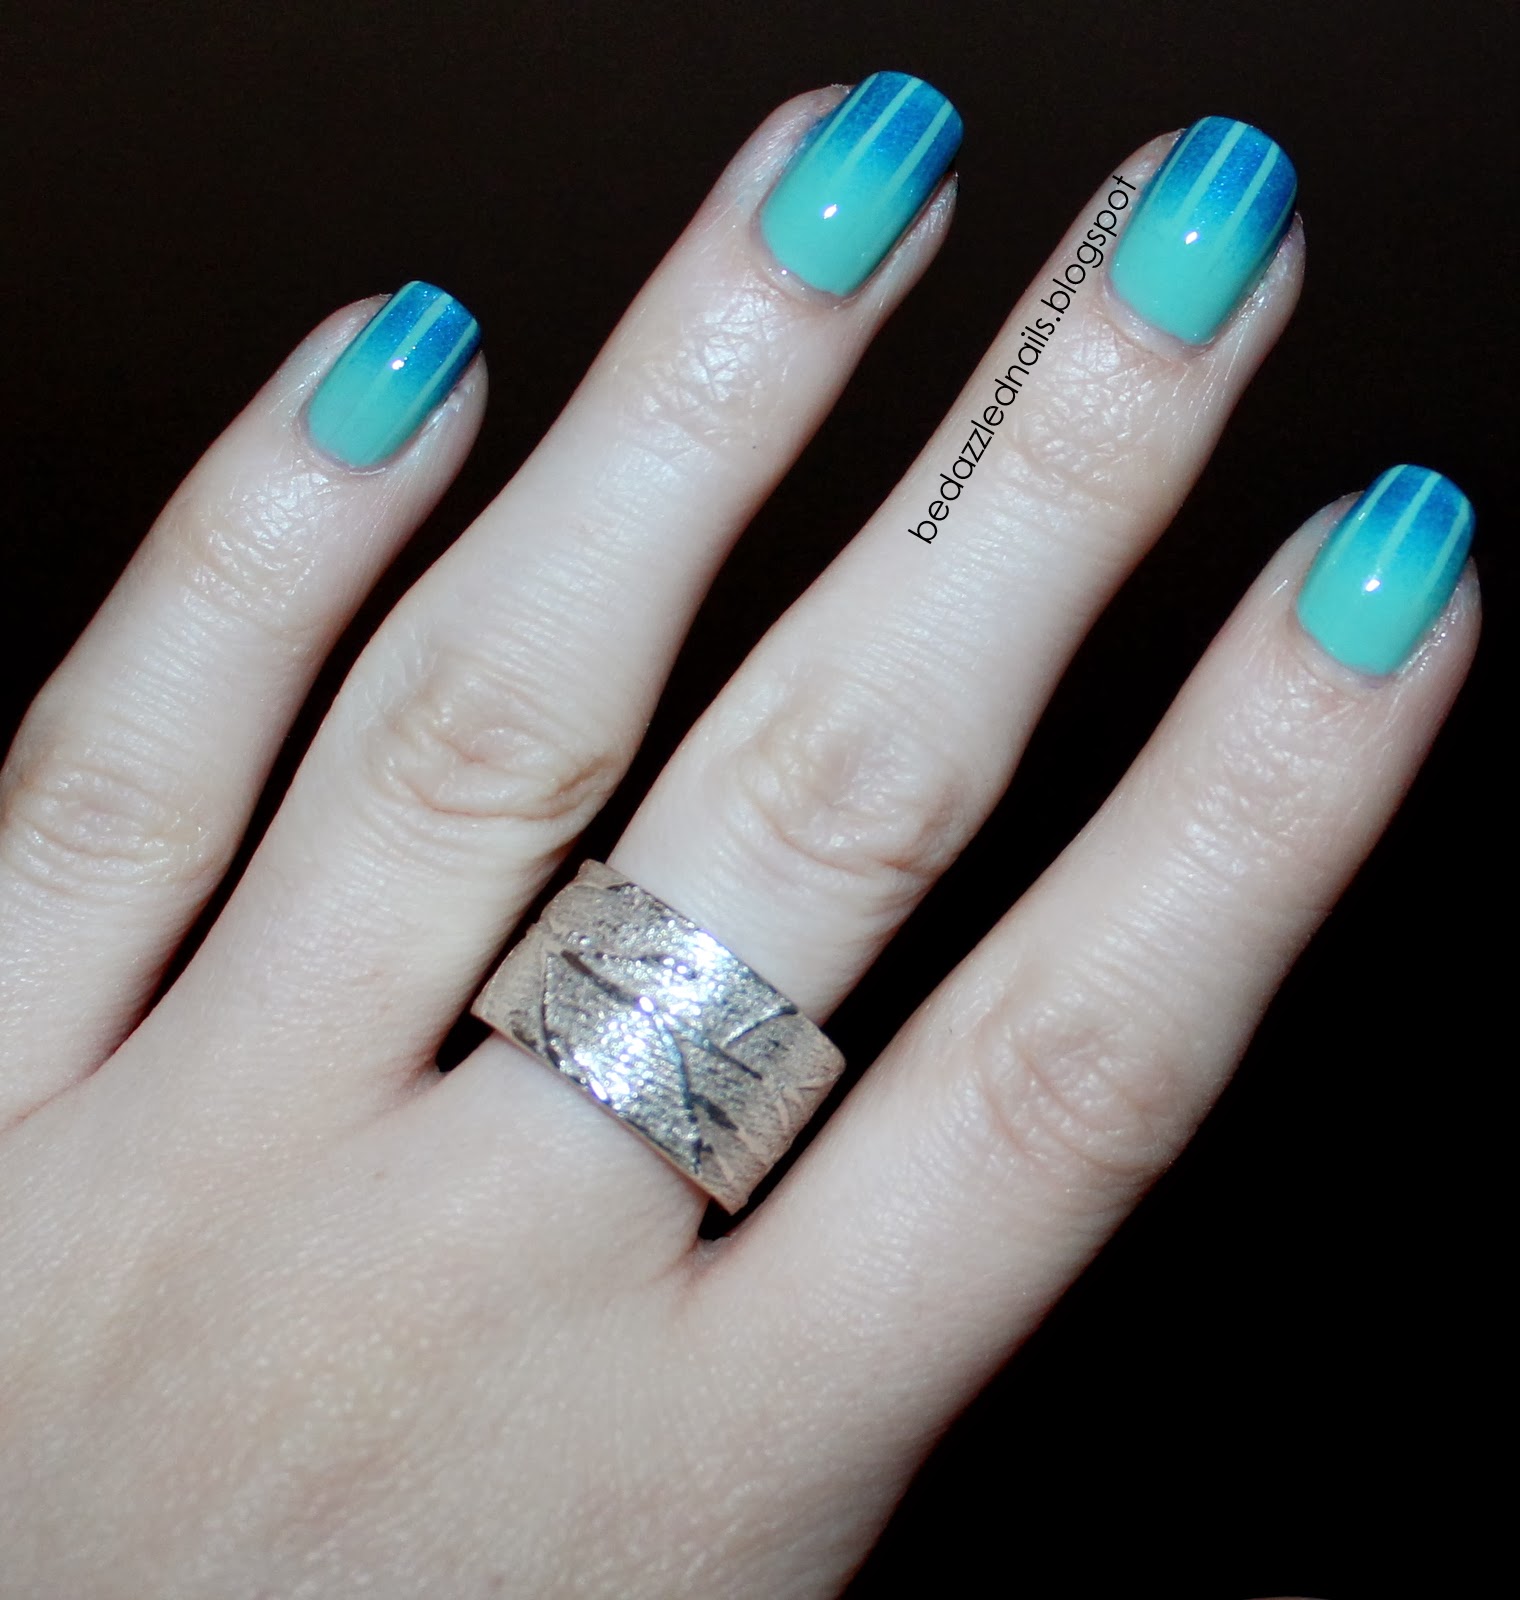
So I decided to continue my obsession with my new striping tape and create another line-tastic design.  I'm a big fan of ombre/gradient and I hadn't done one in a while so why not combine stripes and ombre to create an awesome design?  When I decided on this design, I immediately wanted to call it Blurred Lines.  As a result, I've had the song "Blurred Lines" stuck in my head for days!
Ok now let's get down to business.  For this design I used "Turquoise & Caicos" and "Aruba Blue" by Essie.
I started with a base of "Turquoise and Caicos".  I absolutely love this colour!
I then placed pieces of striping tape vertically on my nails.  Using a make-up sponge, I sponged "Aruba Blue" just onto the tips.  From the picture above, you can see that I actually sponged both colours just to make sure my ombre blended well.  The Posh Knot has a great tutorial for how to create an ombre/gradient effect on your nails.  Here is the final product!
I'm really happy with how they turned out and even happier with the fact that they didn't take long to do (I painted the base colour the night before).  There are so many possibilities for this design with different colour combinations and striping tape arrangement.

Happy Painting!

Love, Kate xo

Tuesday, 7 January 2014

First Striping Tape Design

My striping tape arrived!! I'm absolutely in love.  It is so much easier than trying to cut up tiny strips of Scotch tape.  I got my striping tape from Amazon.ca (thank you mom for the awesome Christmas gift!).  Striping tape is rather in expensive.  I got 30 rolls of tape for around $3.00 and there is a nice variety of colours.
So I obviously had to put my new tape to use right away.  I searched for some inspiration on Pinterest but just decided to go with the flow and see what happened.  On my first attempt, I really liked the pattern I made, but I didn't wait long enough for the base colour to dry so the tape peeled off some of the paint and just made a mess.  On the second attempt, I painted my base colour and didn't do the design until the next day.  This meant there was no risk of my polish peeling off with the tape! 
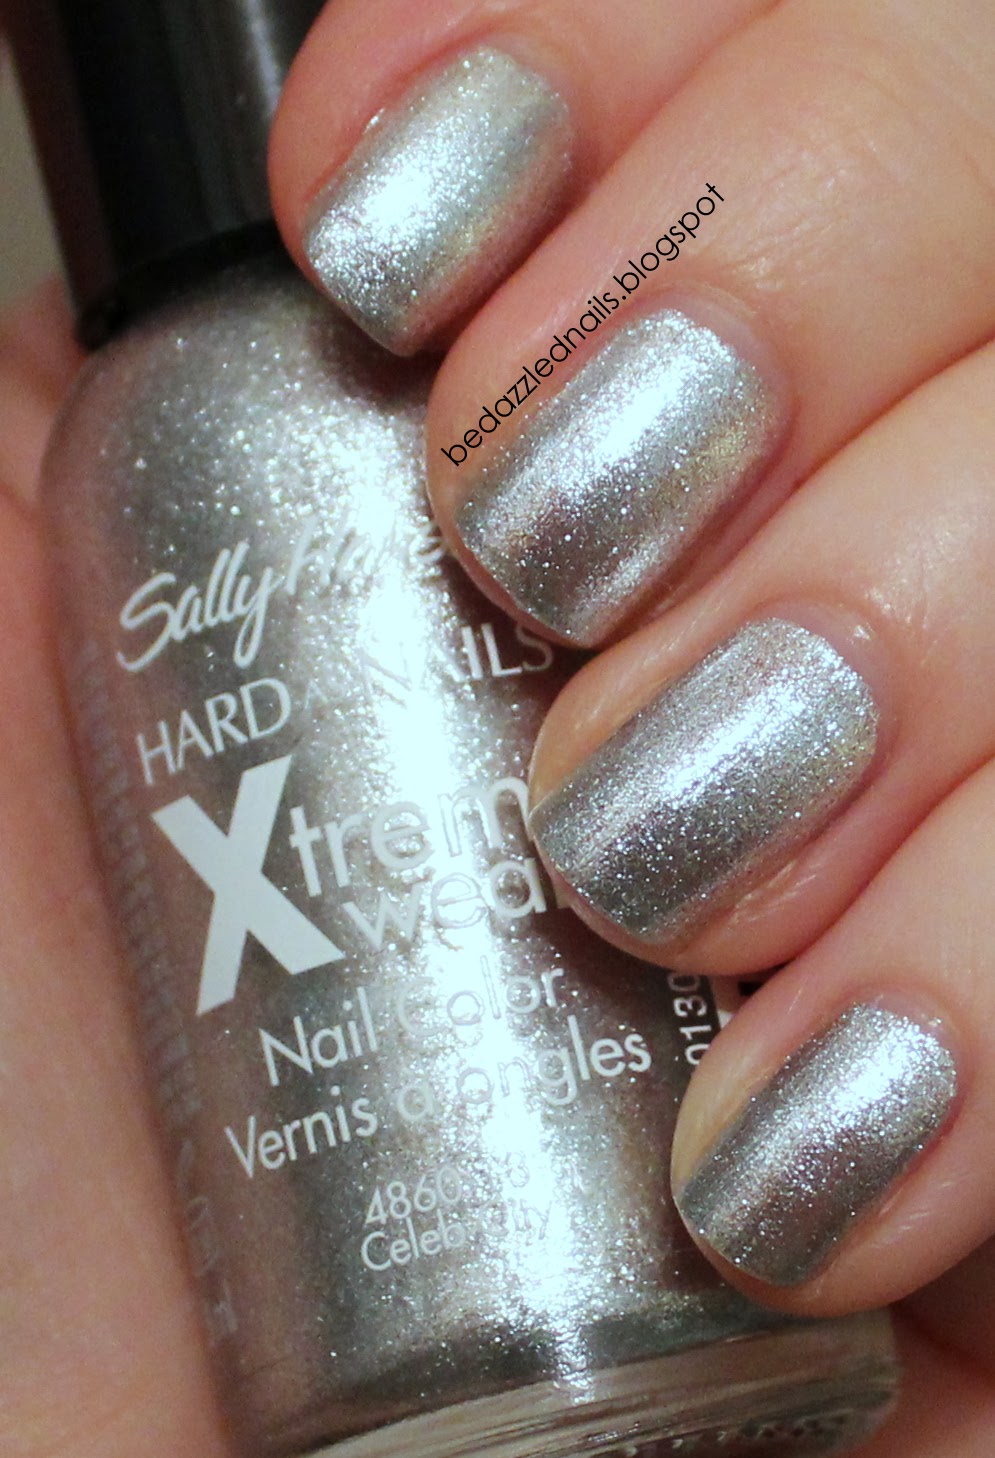
For this design, I used Celeb City by Sally Hansen and Wicked by Essie (an awesome Christmas gift from one of my students!).
I started with Celeb City as my base.  This is probably one of my favourite polishes because it goes on so well.  Since the glitter in it is so fine, it comes off easily unlike other sparkly polishes.
I then used 4 strips of tape to create a crisscross design on the tip of each nail.  You need to make sure that your tape is long enough to hang over the nail to make it easier to remove.
I then painted my top colour (Wicked) over top of the tape.  The key to getting nice straight lines is to remove the tape while the paint is still wet.  After I removed the tape, I decided to fill the purple spaces with dots using one of my new dotting tools.  Here is the final product!
 When I put my top coat on, the purple smeared a little bit.  I ended up not minding the smears because it gave the silver a slightly purple tinge.  It's only noticeable upon close inspection.
I can't wait to try out some more designs with my striping tape!

Happy Painting!

Love, Kate xo