My striping tape arrived!! I'm absolutely in love. It is so much easier than trying to cut up tiny strips of Scotch tape. I got my striping tape from Amazon.ca (thank you mom for the awesome Christmas gift!). Striping tape is rather in expensive. I got 30 rolls of tape for around $3.00 and there is a nice variety of colours.


So I obviously had to put my new tape to use right away. I searched for some inspiration on Pinterest but just decided to go with the flow and see what happened. On my first attempt, I really liked the pattern I made, but I didn't wait long enough for the base colour to dry so the tape peeled off some of the paint and just made a mess. On the second attempt, I painted my base colour and didn't do the design until the next day. This meant there was no risk of my polish peeling off with the tape!
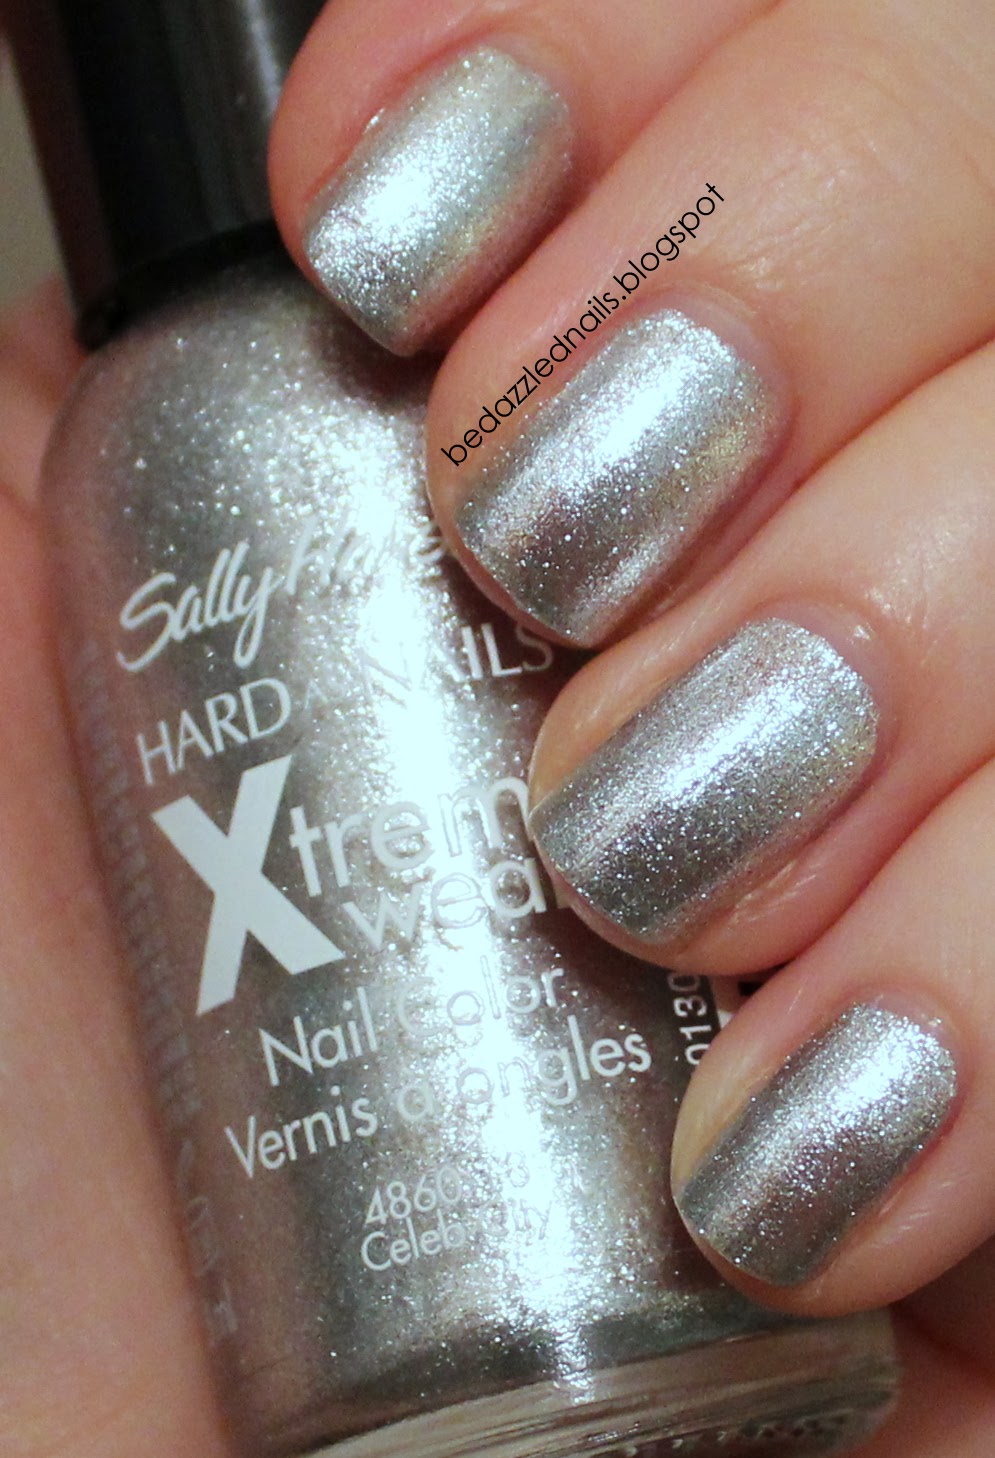
For this design, I used Celeb City by Sally Hansen and Wicked by Essie (an awesome Christmas gift from one of my students!).

I started with Celeb City as my base. This is probably one of my favourite polishes because it goes on so well. Since the glitter in it is so fine, it comes off easily unlike other sparkly polishes.
I then used 4 strips of tape to create a crisscross design on the tip of each nail. You need to make sure that your tape is long enough to hang over the nail to make it easier to remove.

I then painted my top colour (Wicked) over top of the tape. The key to getting nice straight lines is to remove the tape while the paint is still wet. After I removed the tape, I decided to fill the purple spaces with dots using one of my new dotting tools. Here is the final product!

When I put my top coat on, the purple smeared a little bit. I ended up
not minding the smears because it gave the silver a slightly purple
tinge. It's only noticeable upon close inspection.

I can't wait to try out some more designs with my striping tape!
Happy Painting!
Love, Kate xo
No comments:
Post a Comment