Showing posts with label OPI. Show all posts

Thursday, 31 July 2014

Shattered Triangles

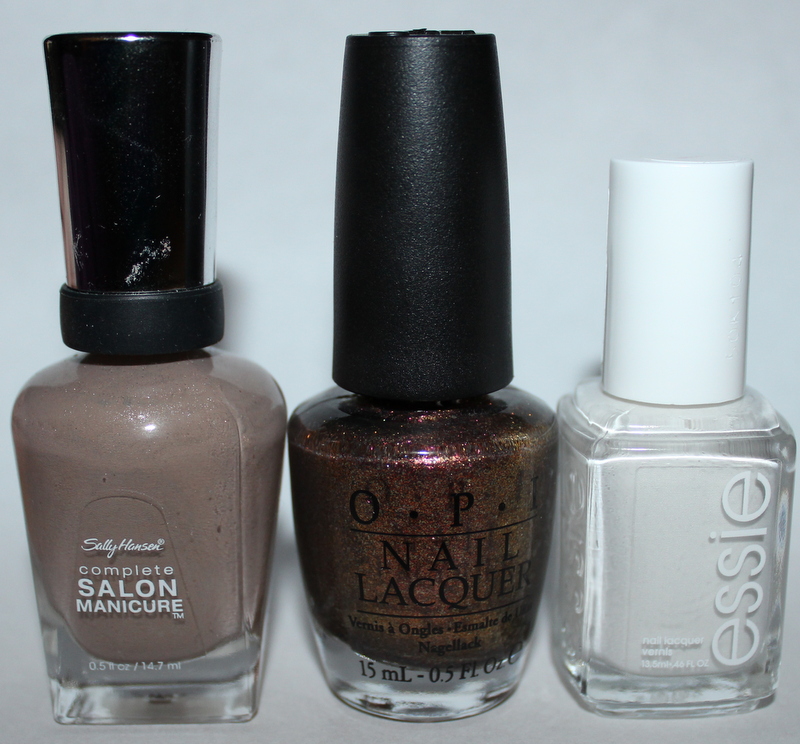
I have to preface this post by saying that this design is one of my favourites to date.  I was inspired by these nails a friend showed me on Pinterest (thanks Leanne!).  For this design, I started with a base of "Blanc" by Essie.  For the triangles, I used "Goldeneye" by OPI and "Up the Ante", "Winning Streak", and "Full House" by Revlon Colorstay Gel Envy.
Instead of hand painting each triangle, I made my own nail stickers.  You can see a great tutorial here.  Basically you paint thick swatches of polish onto a plastic baggy.  Let the polish dry completely (I let mine dry overnight) and then peel the swatches off the bag.  Use scissors to cut triangles of all different sizes.  While your nails are still tacky, use tweezers to place the triangles on your nails.  Finally, seal with a top coat and voila!
 I like how it kind of looks like stained glass or like something was dropped on the floor and it shattered.  I'm also really happy with the colours that I chose.
 I hope you all like this design as much as I do!!

Happy Painting!
Love, Kate xo

Monday, 14 October 2013

Falling Leaves

For the last couple weeks I've been trying to decide how to incorporate leaves or falling leaves into a nail design.  I really wanted to keep it simple with no actual leaves or trees. 
For this design I used, "Pur White" by Maybelline, "The Spy Who Loved Me" (red) by OPI, "Orange Oasis" by Covergirl, and "Hit the Lights" (yellow) by Nicole by OPI.
I started with a base of "Pur White".  I wanted the base to be really soft and felt that a straight up white polish would be too harsh.
I then used my dotting tool (pencil with a straight pin) to add dots to my nails starting at the tips.  I tried to spread the dots out as I moved down my nails to give a falling/fading effect.  Here is the final result!
I am in LOVE with how these turned out.  
The possibilities are endless with this design.  
To name a few ideas:
- blue, silver, and white for Winter (falling snow?)
- red, green, and gold for Christmas
- multi-coloured for New Years (confetti)

Happy Painting!

Love, Kate xo

Saturday, 12 October 2013

Thanksgiving Plaid

Since it is Thanksgiving this weekend in Canada, I figured I should do a Thanksgiving themed design.  I'm kind of in love with the plaid trend in fashion right now and have been wanting to do plaid nails for a while.  So instead of doing a traditional turkey on my nails, I went with a plaid design in Fall colours.
For this design I used "Black Orchid" by Sally Hansen, "Blanc" by Essie, "Orange" by Pupa, and "Goldeneye" by O.P.I.  
I started with a base of "Black Orchid".
I got my inspiration from a tutorial created by The Beauty Department.  I painted Scotch Tape and cut it into different sized strips.
I then placed the strips on my ring finger in a plaid design.  On my other nails I added metal stud stickers by Kiss.
Here is the final product!
I hope all my Canadian friends have a wonderful Thanksgiving weekend!

Happy Painting!

Love, Kate xo


Tuesday, 10 September 2013

Autumn Zebra

Anyone who knows me knows that I have a bit of an obsession with zebra print.  You can find splashes of zebra all over my house from my duvet to my shower curtain to the accent pillows on the couch (just to name a few).  When it comes to my nails, zebra is kind of a go-to when I'm not feeling overly creative or motivated.
I know it's technically still Summer but the weather is changing and our local Fall Fair is this weekend.  The Fall season kind of inspired my colour selection.  I used "Fedora" by Sally Hansen, "Warm & Fozzie" by OPI, and "Blanc" by Essie (I got a new white polish!). 
"Fedora" kind of reminds me of burlap (which reminds me of scarecrows) and "Warm & Fozzie" has flecks of gold, bronze, red, and green (all Fall colours).  I started with a base of "Fedora" on all my nails.
I then used a fine paint brush with "Blanc" to free-hand a zebra design onto each nail.  I then used "Warm & Fozzie" as an accent on my ring finger.  Here is the final result!
I'm happy with how these turned out.  I would usually use my white Kiss Nail Art Paint to do a zebra design, but the polish has gotten thick.  A nail polish thinner is on the list of nail art supplies that I want/need.

Happy Painting!

Love, Kate xo

Monday, 1 July 2013

Canada Day Nails

I always enjoy doing theme/holiday nails.  It always presents the added challenge of trying to stay within a theme by using specific colours and/or symbols.  For my Canada Day nails, I did a simple search of "Canada Day" in Google to look for some inspiration.  I saw a lot of flags and fireworks and when I saw pictures of a moose and a beaver I knew I had to put them onto my nails.  I used the following two images for inspiration.
For this design, I used "The Spy Who Loved Me" (red) by O.P.I., "Yellow Ochre" and "Coffee Bean" acrylic paint by Folk Art, "White On" by Sally Hansen, and "Black" and "White" by Kiss.
I started with a red base on all my nails.  I realized after the fact that none of the pictures I took of my base colour were clear so I had to take a picture of my right hand.
 
Here is the final product! I knew I would struggled to create a perfect maple leaf so I substituted a heart so symbolize my love for my country.  However, I wish I had done my flag nail horizontally instead of vertically so you could see more red.  Oh well! It's all about trial and error :)  I used a small paint brush to paint the characters and tape to tape off the white area of my flag.

  
I'd have to say my favourite part of this design is the moose.  He might just have to make another appearance at Christmas time.  Perhaps with a red nose to turn him into a reindeer a.k.a Rudolph.


As much as I like this design, I can't wait to take it off and try some of my new polishes.  I have 4 new summery colours that I'm super excited about. I can guarantee that you will see them in my next post.  Until then...

Happy Painting!

Love, Kate xo