Showing posts with label sharpie. Show all posts

Saturday, 5 July 2014

Ikat Dress Inspiration

 Two posts in two days!
I wore a new dress to a bridal shower today and used it as an excuse to paint my nails to match my outfit.  I got this adorable hi-low dress last weekend and it's perfect for summer.  I fell in love with the combination of floral and ikat patterns.  I just knew that I had to use it as some nail inspiration.
For this design, I started with a base of "Blanc" by Essie.  I used "Cute as a Button" by Essie, "Fedora" by Sally Hansen, and a brown Bic permanent marker for the design.  To create the floral design, I thinned the coral and brown using acetone.  I then used a paint brush to apply the thinned polishes in a random "flower" design.  To create the ombre effect on the rest of my nails, I used a paint brush (not the brush from the polish) to paint the coral shade onto half of my nail.  I made sure to drag out the edges to create an ikat look.  Once my nails were dry, I used a Bic permanent marker to draw the brown shapes.  Finally, I slowly dragged my top coat over top to make the colours bleed. 
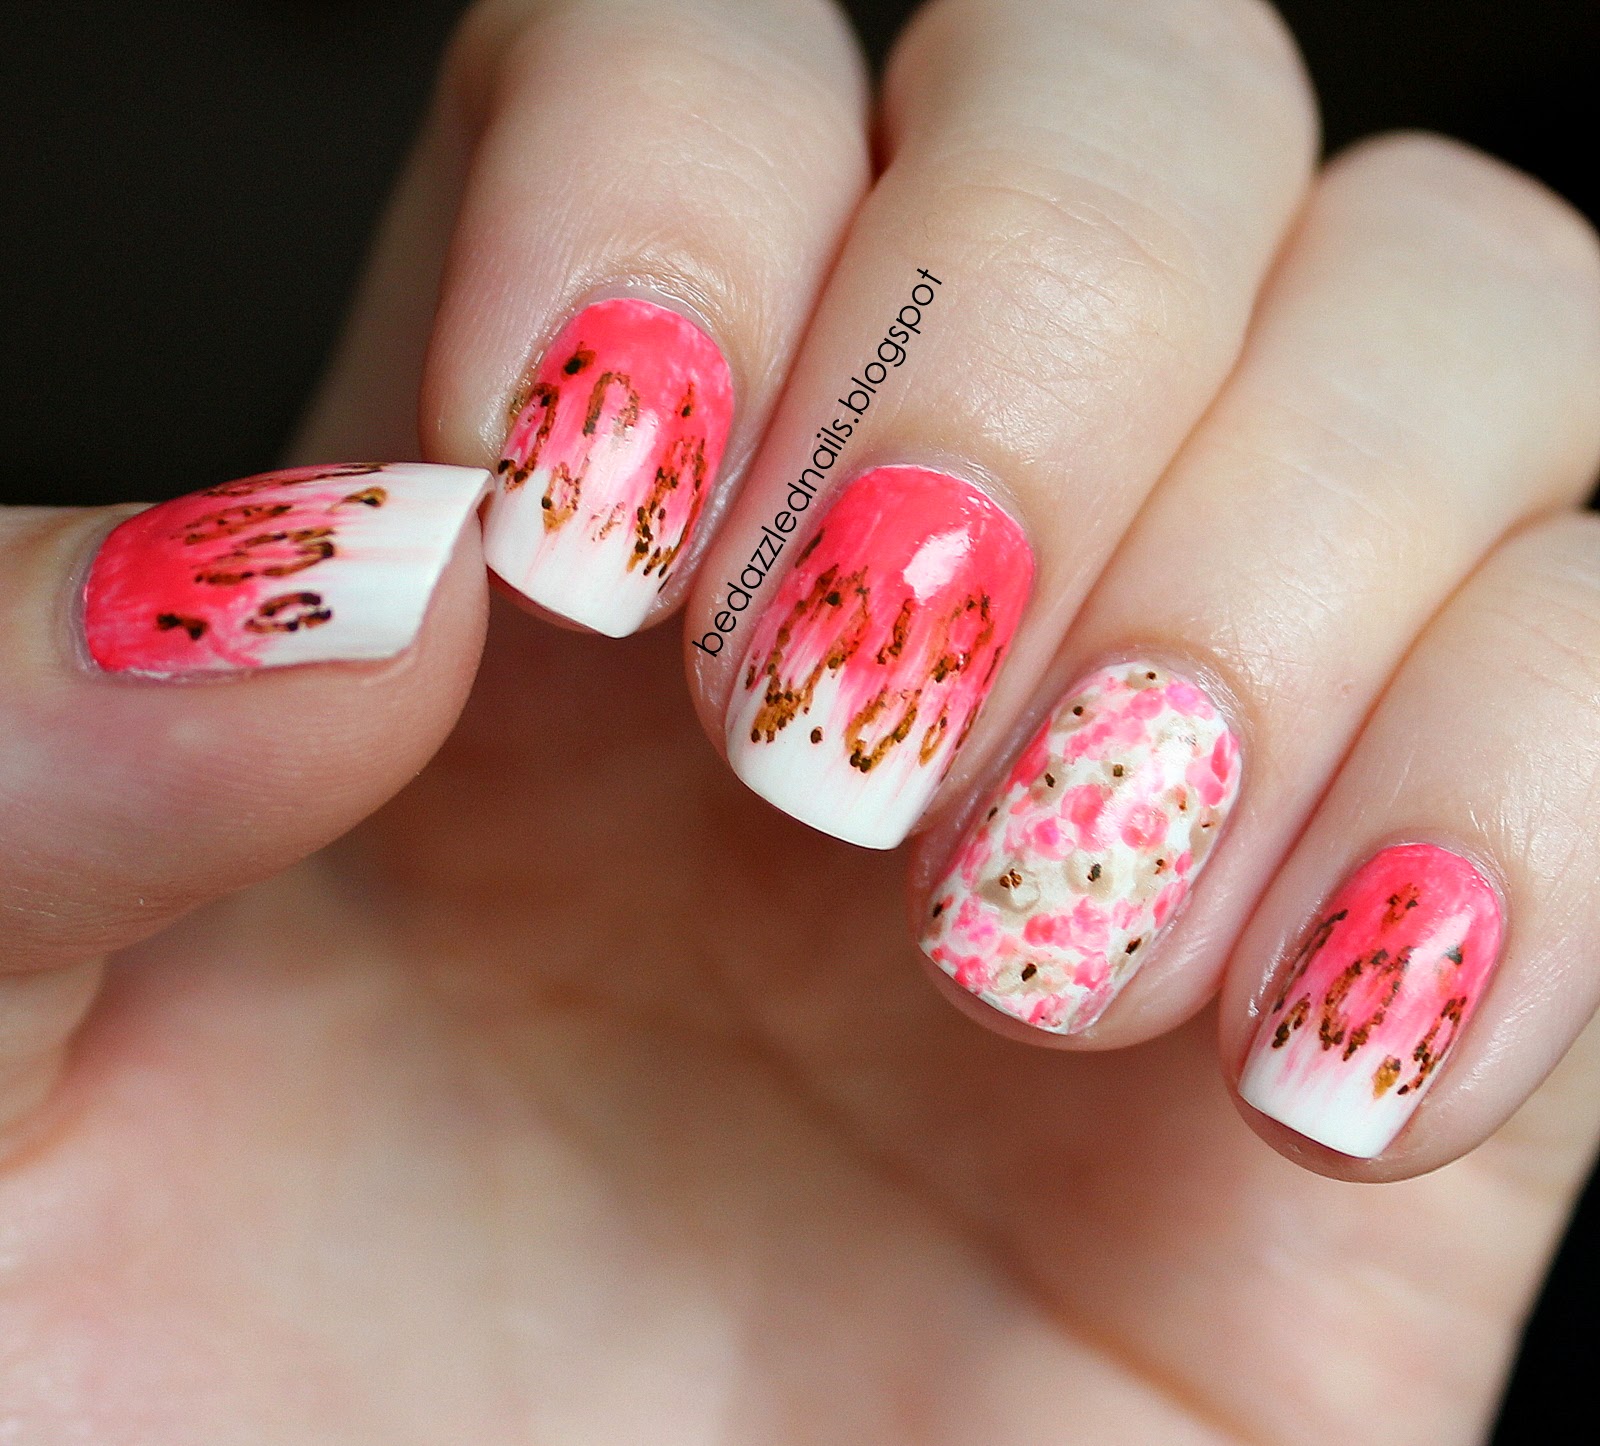
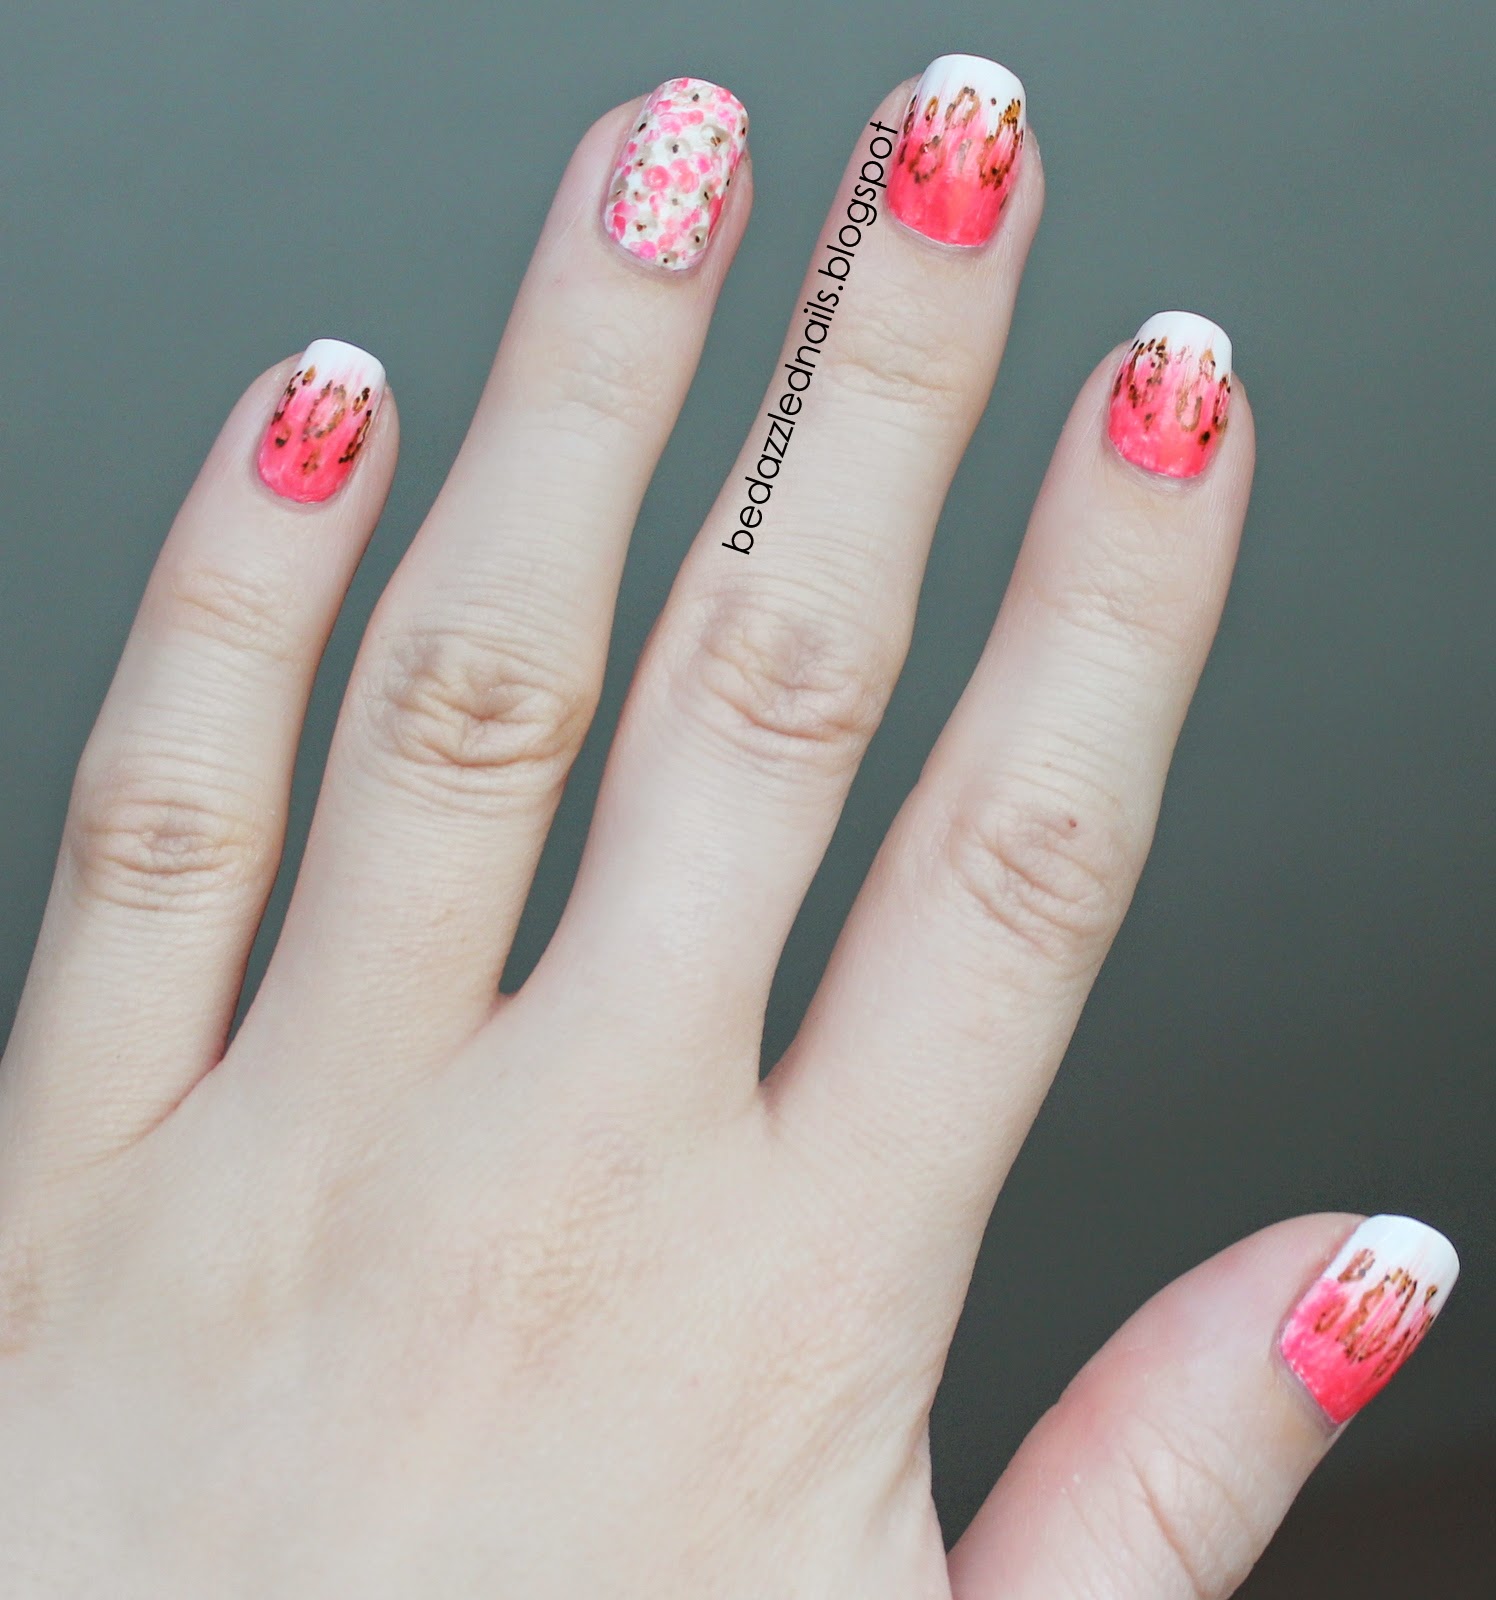
I'm so happy with how these turned out! You can bet that you will see a full floral design in the near future.

Happy Painting!

Love, Kate xo

Friday, 4 July 2014

Bras for the Cause

I'm back!! The last couple months of school are always busy.  Well this year was extra busy and my nails were definitely put on the back burner.  Now that summer has arrived, I can finally get back into nail design and it feels great!

Last night, my mom and I attended a Bras for the Cause event.  The idea is that you all decorate a bra and wear it on top of your clothes, all while raising money for breast cancer awareness.  Of course, I had to make sure that my nails matched my bra.

I started with a base of "Blanc" by Essie.  I then used Bic permanent markers to create my design.  I recently bought the pack of 36 Bic markers instead of the Sharpies because there was a greater variety of colours.  I created a "firework" design using pink, blue, green, orange, and yellow.  I created an accent nail by placing the breast cancer ribbon on my ring finger.  The result is a super easy, colourful, and fun design that I will definitely be recreating in the future.
Oh, I can't forget to include a shot of our bras!  You'll notice the "firework" design on the bands of the bras.

Happy Painting!

Love, Kate xo

Saturday, 22 March 2014

Nude Animal Print

I've become a really big fan of using Sharpies to draw designs on my nails.  It is such a quick and easy way to add some pizazz to your nails.  Just remember to spray a thin layer of aerosol hairspray over your nails (from a distance) before adding your top coat to prevent smudging.  You still need to make sure you apply your top coat quickly.  
For this design, I used the base colour from "Celestial Shine" by Revlon Sun Candy and a black Sharpie.  It's important to make sure your nails are completely dry before drawing with the Sharpie otherwise the marker won't apply smoothly.
Originally, I was going to apply the sparkly top coat over the leopard design, but I liked the way it looked without it.
I'm really happy with how these turned out.  The colours are subtle but the design is fierce!

Happy Painting!

Love, Kate xo

Friday, 14 February 2014

Valentine's Day

Happy Valentine's Day Everyone! 

Just a quick post today with my Valentine's nails.  I wanted to do a design that was relatively quick so I chose to do a Sharpie mani for this day of love.  I started with a base of "Sugar Daddy" by Essie.  This is a fantastic everyday colour because it's a soft pink which gives your nails a healthy, pink glow.  I then used pink and red Sharpies to create a waterfall design on all my nails except my ring finger.  I then used "Polka Dots" by Maybelline (Colour Show) as a top coats.  On my ring finger I created a quick heart patchwork design.  Here is the final product!
 I'm really happy with how they turned out! I hope you LOVE them as much as I do.

Happy Painting!

Love, Kate xo

Sunday, 1 September 2013

Dream Catcher Nails Made with Sharpies

This week I decided to create a design using Sharpies.  Not everyone has nail art brushes or thin paint brushes around to do detailed designs.  Sharpies are a great alternative and easier to use.  The major problem that people complain of when they use Sharpies on their nails, is that their design gets smudged when they add their top coat.  I did a little searching and someone suggested lightly spraying a coat of hairspray over top of the design before adding the top coat.  This creates a barrier between the Sharpie and the top coat.  I did this and didn't have any problems with smudging!

For this design, I used "Alex by the Books" by Nicole By OPI and 3 Sharpies (pink, purple, and turquoise).
I then began adding my dream catchers to each nail with just a feather on my ring finger as an accent nail.  I had originally planned on using black for the main part of the dream catchers but couldn't find a black Sharpie with a tip that wasn't worn down.  I'm glad I ended up using turquoise.  Here's the final product!

Happy Painting!

Love, Kate xo